Tuesday, November 13, 2012

Artwork and Homework Display Gallery

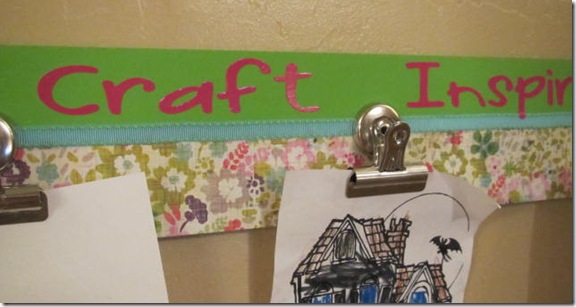
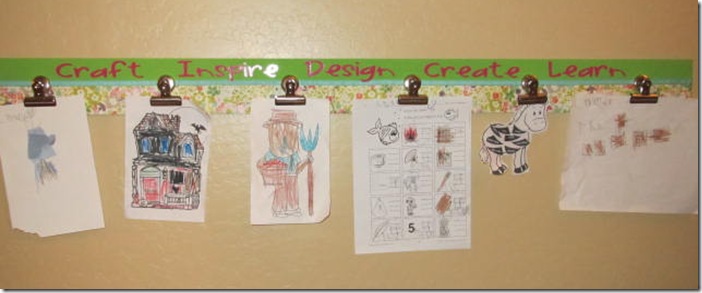
I’ve seen these boards around Pinterest and really liked the idea of making one for the hallway so Lauren can display her school and art work. 

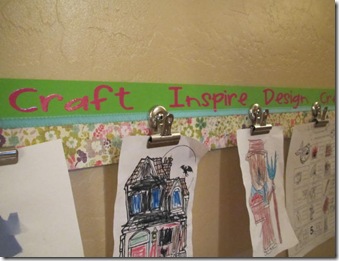
I picked up a piece of 1/4” thick particle board at Lowes and we cut it to 50” x 4”.  I painted the edges and the top 2” of the board with several layers of green craft paint.  Then I cut 2” strips of scrapbook paper and used Mod Podge to adhere the paper to the bottom half of the board.

IMG_4745

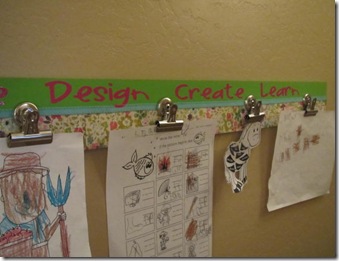
I covered the edges where the paint and paper meet in the middle with some ribbon using hot glue and then glued on some clips I picked up at Staples. 

IMG_4739

Then I pulled out my Cricut and some vinyl I bought ages ago on Pick your Plum.  I’ve never cut vinyl and was a little nervous to try it.  I set the pressure on high and turned the blade setting to 6 (the highest).  It came out great on the first try.  For those of you who never tried it, I peeled up the vinyl and was left with just the words stuck to the paper backing.  I used the little Cricut spatula to remove the little centers from the “a’s” and “e’s”, then I stuck a piece of clear Contact paper on top of all the words and lifted them up off the paper.  Now I had a sheet of Contact paper with all the words stuck to the back of it.  I cut each word out, positioned it where I wanted it, rubbed the vinyl letters down, and carefully lifted the Contact paper to leave the letters behind.  Worked like a charm…no need for expensive transfer paper from the vinyl shops!  I got a huge roll of clear Contact at Walmart from the shelf lining display for next to nothing.  

IMG_4741IMG_4742

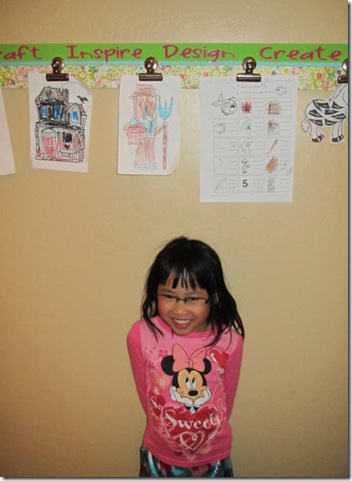
Best part of all is that Lauren LOVES her new gallery!

IMG_4743

Monday, November 12, 2012

Weekend stuff

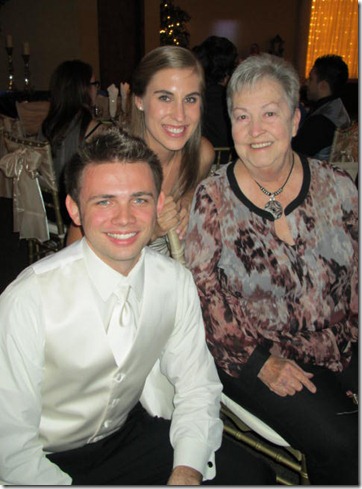
Last weekend my brother and sister-in-law’s niece got married and it was a beautiful wedding.  Here’s the bride and groom with my mother.  They are a gorgeous couple and have such a bright future together. 

IMG_4703

Here’s a couple of pics before we headed out.  I found Lauren’s cute dress at JC Penney…the bright pink looks really nice on her.

IMG_4680IMG_4682

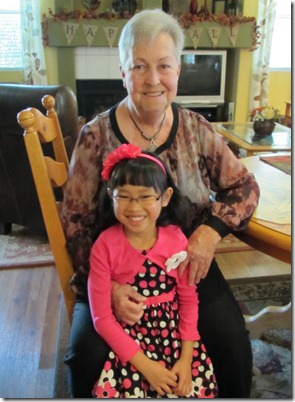
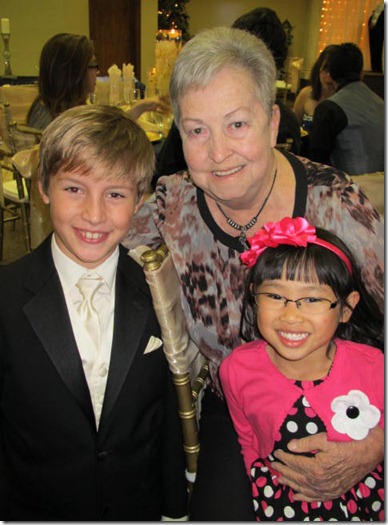
Here’s grandma with her two youngest grandkids…

IMG_4707

Lauren had a blast on the dance floor.  Here she is with her cousin, Emily, and with Uncle Jim and Aunt Stephanie…

IMG_4700IMG_4718IMG_4723

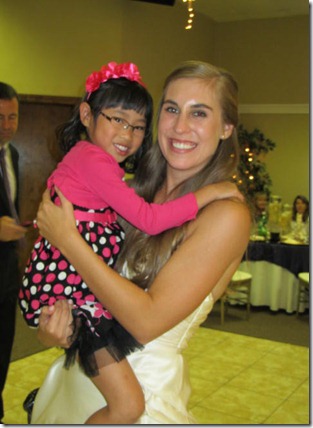
and she danced with the bride for the money dance…

IMG_4714

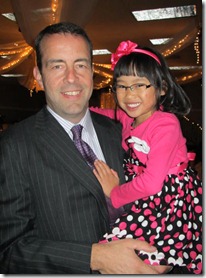
She sat still just long enough for a quick pic with Daddy…

IMG_4706

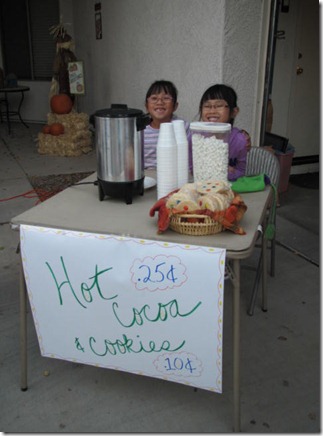
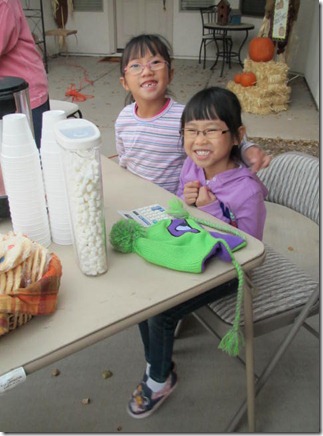
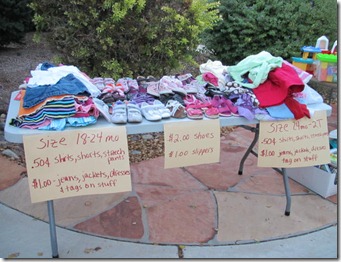
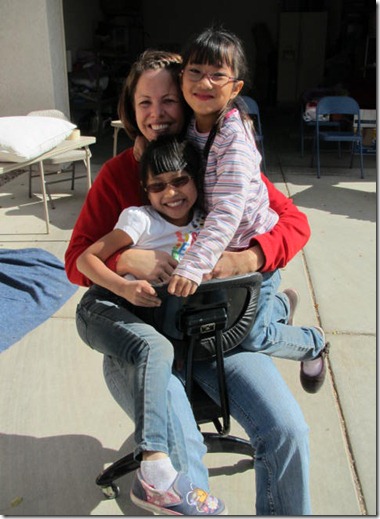
This weekend we had a garage sale.  It was the first really chilly morning here in the Phoenix area, so Lauren’s lemonade stand was converted to a hot cocoa stand.  Now who wouldn’t buy cocoa and cookies from these two cuties…

IMG_4727IMG_4728

Actually, Grandma, who was supposed to be the assistant hot cocoa sales person, ended up manning the table most of the time and made the majority of the sales.  There’s now $10 more dollars in her piggy bank. 

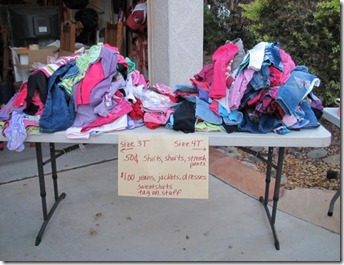
I had SO many of Lauren’s old clothes bagged up in the garage and was so happy to get rid of them…

IMG_4730IMG_4731

After seeing all these clothes go out the door for next to nothing, her fall and winter wardrobes for this year will be MUCH smaller!  Oh, and same thing for the toys this Christmas…

The girls had a blast playing and goofing around.  Here’s Lauren with our good friends, Nancy and Lily…

IMG_4735

Ruby, our best doggy friend, was the official garage sale mascot…

IMG_4733

Wednesday, October 31, 2012

Halloween

Another great Halloween in the books.  Lauren had an amazing time trick or treating with three little friends. 

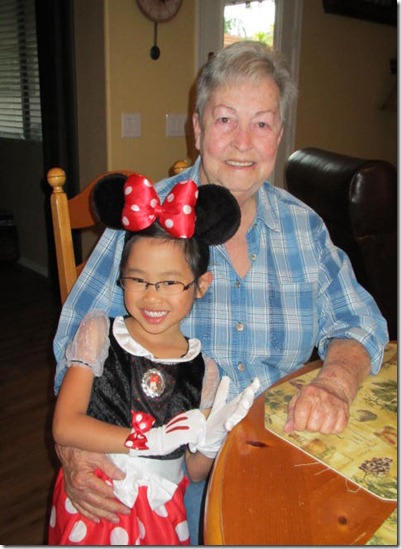
My pretty little Minnie Mouse…

IMG_4640

With Grandma before heading out for the night…

IMG_4638

I was talking to a friend of mine while we were out with the kids and we were both reflecting on all the years of handing out candy and feeling so jealous of all the parents with their little ones.  It was one of those moments when we were both so thankful to finally be parents and we were just enjoying every minute of watching our kids have so much fun.  I think waiting so long to become a mom has really made me live in the moment and enjoy all the little things…nothing is taken for granted. 

IMG_4643

Monday, October 29, 2012

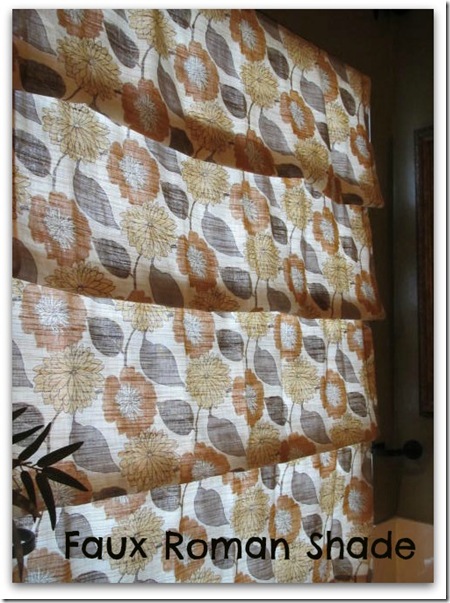
Faux Roman Shade

Roman Shade
We have one of those dated, glass block windows in my master bathroom over the tub.  It’s the only window on the west side of the house and the afternoon/early evening sun is way too much. 
About 5 years ago I made a real roman shade for this window.  You know, the kind with a pulley and strings, wooden dowels, and plastic rings that you can pull up and down?  Well, I’m kind of giving my bedroom a mini makeover and the old roman shade just isn’t in my color scheme or style any more.  Isn’t it amazing how you can love something one day and a few years later you’re wondering what the heck you were thinking?  I do that all the time.   
I bought curtain panels at IKEA a while back for my bedroom and bought an extra package thinking I may need them later.  On Sunday, I decided I was going to get rid of the ugly roman shade and use one of the curtain panels to make something new.  Remembering back to the day when I said NEVER AGAIN am I making another roman shade, I knew it needed to be something much faster and easier.  After taking a few quick measurements of the old shade and the IKEA curtain panel, I knew just what to do…a faux roman shade.  I already had three tension rods tucked away that I bought for another project and never used…perfect.  So, here’s what I did…
IMG_4637  
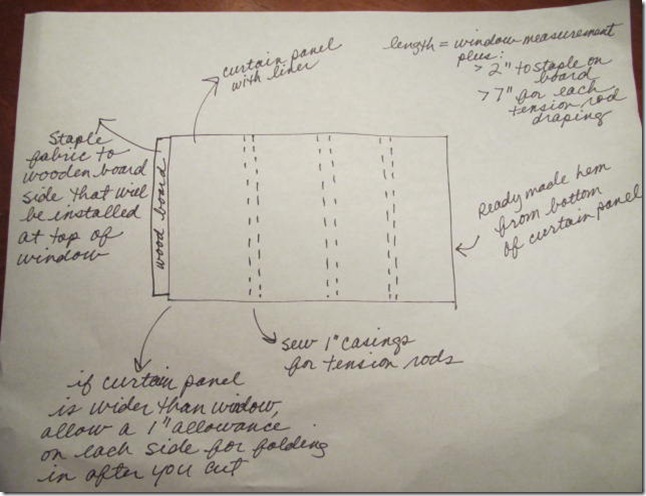
The curtain panel was lined and just happened to be almost the exact width (total luck out).  I used the hem already on the curtain and cut to size from the top.  Then I measured and marked to sew three 1” casings (one for each tension rod).  I just cut little slits close to the edge on the back side (liner side) to slip the rods through.  Then I stapled the top to a wooden board that fits in the window casing at the top.  My curtain was a tiny bit too wide, so I stapled in two pleats (one on each side of the shade) to take up a little slack. 
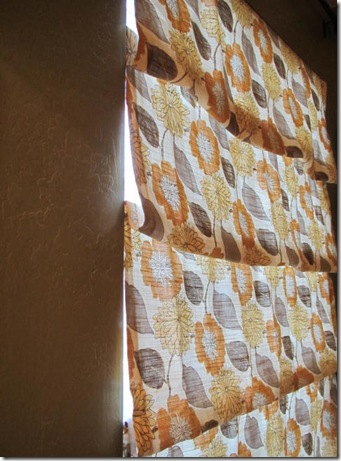
Here’s a side view…you can’t even see the tension rods, since I cut the insert slits in from the edge about the width of the rubber stoppers on the rod. 
IMG_4634
I’m REALLY happy with the end result!  It matches the bedroom and it’s such a bright, pretty change from my old dark roman shade. 


   Simply Designing

Sunday, October 21, 2012

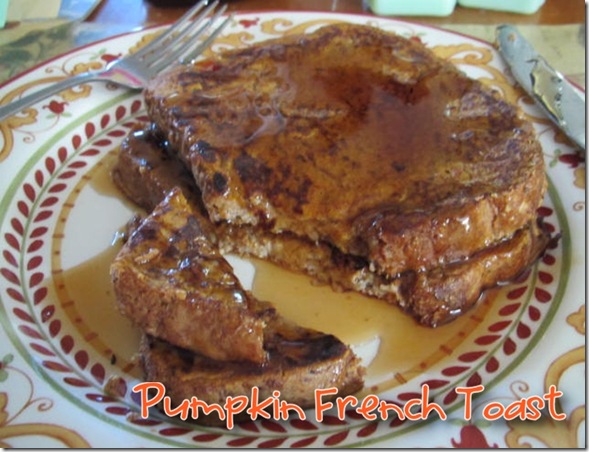
Pumpkin French Toast…yum!

The other day Lauren and I decided to make breakfast for dinner and I remembered I had some leftover pumpkin puree in the fridge.  We put this together and both really enjoyed it.  Hope you do to…

Pumpkin French Toast

2 eggs
1/2 cup pumpkin puree (not pie filling)
1/4 cup milk or half & half
1 tsp vanilla
1 tbsp sugar
1 tsp cinnamon
1/2 tsp ground nutmeg
1/2 tsp allspice
1/4 tsp cloves
4 to 6 slices of bread (depending on the size)

Whisk together the ingredients while the skillet is heating up.  Dip both sides of bread and cook on the skillet until browned on both sides.  Serve with syrup or butter and cinnamon sugar.

Thursday, October 11, 2012

Disney trip

We took Lauren to Disneyland for Fall break and had a GREAT time!  She is the perfect age and absolutely loved it.  We had three day hopper passes and spent two days at Disneyland and one day at California Adventure.  Disneyland was decked out for Halloween and the Haunted Mansion was transformed into The Nightmare before Christmas.  It's amazing the work they put into changing up this atttraction for the holiday...we rode this one twice. 

Lauren loved any fast ride including the new Radiator Springs Racers, Thunder Mountain and the Matterhorn.  She also loved all the rides in Fantasyland with Peter Pan and Dumbo being her favorites.  She was thrilled when she got to ride up front with the driver on the Monorail.  I think the most fun she had was the Minnie Mouse & Friends character breakfast at the Plaza Inn on Main Street and at the Jedi Training Academy show in Tomorrowland.  She got selected to "train" as a Jedi during the show complete with brown, hooded robe and light saber.  She got to fight up on stage with Darth Vader (video below) and got a certificate at the end. 


You can see all our trip pics on my Shutterfly site.  Here are some of my favorites...


Wednesday, August 22, 2012

Tortilla bowls…

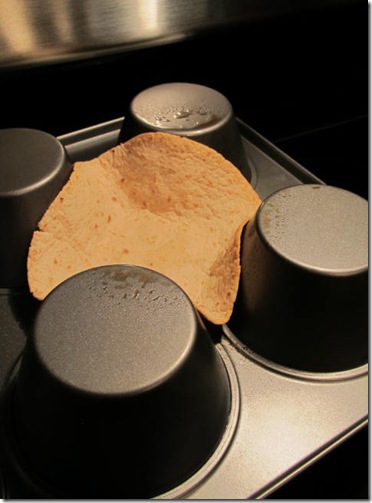
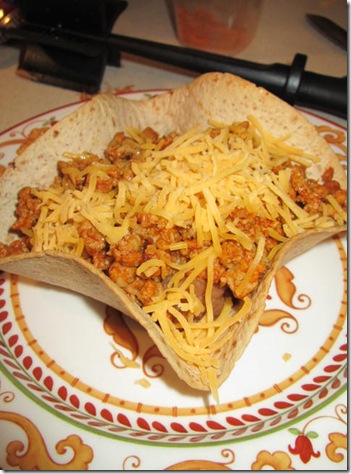
Okay, I saw this somewhere out in the Pinterest world and I have to say that it actually works.  Take a jumbo muffin pan, turn it upside down and spray lightly with olive oil Pam between four of the cups (although you may not actually need to do this).  Now take a small tortilla and place it on the pan like this…

IMG_4319

I baked at 350 degrees for about 8-10 minutes until it was crispy then filled with refried beans, turkey taco meat and some shredded cheese.  YUM!

IMG_4320

Wow to figure out what to bake a large tortilla on without buying one of those expensive, single purpose tortilla bakers.  Hmmm…maybe a stainless or glass bowl?  Although you wouldn’t get the same look.  Any ideas out there?

Sunday, August 19, 2012

Pinterest crafting…

I decided to try some of the crafts I’ve had on my Crafts to Make Someday Pinterest board.  I’ve been pinning like crazy, but haven’t taken much time to actually craft and that’s the fun part!

First off, this cute bracelet is a copy of this one.  All you need is wooden beads, leather lace and a pretty button.  I like how I can wear it with the button in the front to show it off or in the back.  

IMG_4288

Next up was to make a copy of this bird nest necklace.  I think it turned out pretty cute for my first attempt. What do you think?  I used the 24 gauge wire, but you can also use 20 gauge for a more delicate look. 

IMG_4293

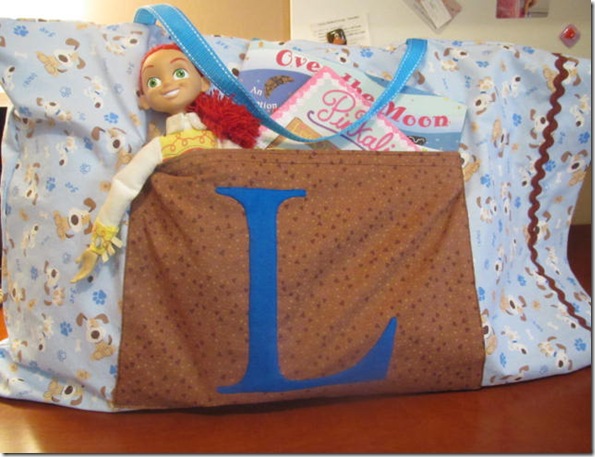
I saw this road trip pillow case and thought it would be perfect for our Disney trip coming up over Fall break.  It has a big pocket on the front to stow night time reading and a little friend.  Lauren is loving the color blue right now and she loves puppy dogs, so when she saw this fabric at Joann’s she grabbed the bolt right off the rack.  I picked up a yard of fabric, a package of jumbo rickrack, a craft felt square, two fat quarters of fabric for the pocket, and a piece of webbing for the handle.  I think it turned out darn cute and she loves it.  

IMG_4303

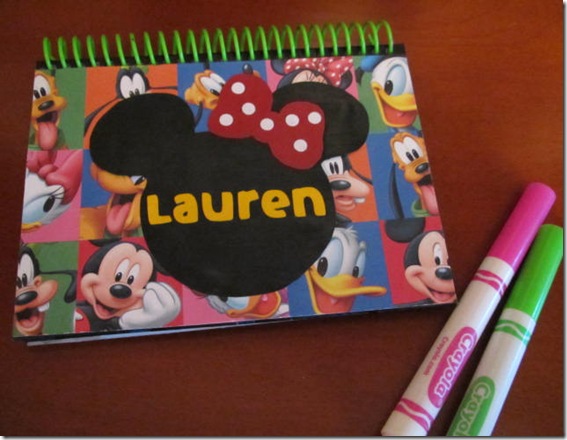
I made a run to Michael’s yesterday and they had a bunch of the $1 toy aisle stuff on clearance, so I picked up a spiral notebook for .25 cents and a piece of Disney scrapbook paper.  I remembered this idea I saw the other day.  I cut out a Mickey head, a bow and used my Cricut for the letters.  Now Lauren has her own personalized autograph book for Disney.  She LOVES it and can’t wait to get all her favorites to sign! 

IMG_4315

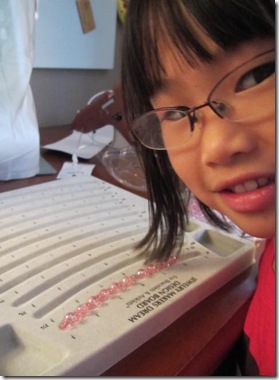
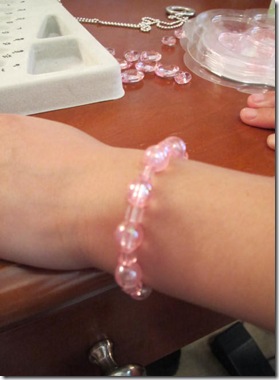
Lauren also got in on the jewelry making and made a little stretch bracelet.  Thanks, Nancy, for the little beading kit!

IMG_4279IMG_4296

Well, it was a fun and productive craft weekend.  Now to think about what to try next. 

Monday, August 6, 2012

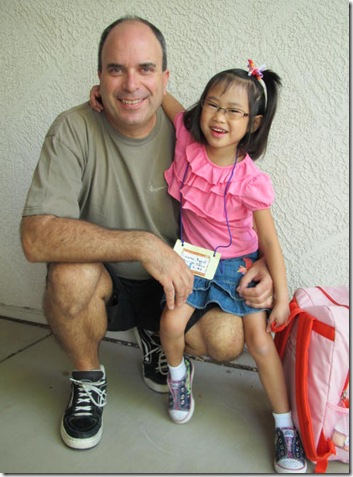
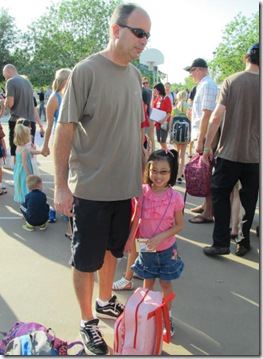
First day of kindergarten…

I took today off so Joe and I both could see her off to school today.  We got up extra early since we weren’t quite sure how the morning traffic would be at this time.  I’m usually on the freeway by 6:15am to make it to work by 7am.  At that time traffic is light, but school doesn’t start until 7:45am so I was expecting it to be pretty bad.  We have her enrolled out of district, so the school is about 12 miles away. 

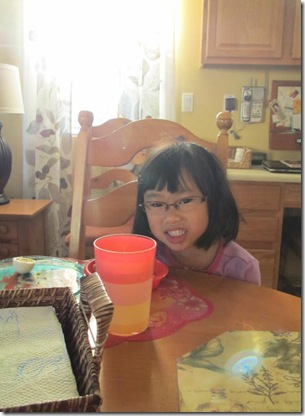
I got her up for breakfast at about 6:15am and she was pretty excited to get her big day started.  We read The Night Before Kindergarten before bed last night and talked all about how the morning and day would go. 

IMG_4257

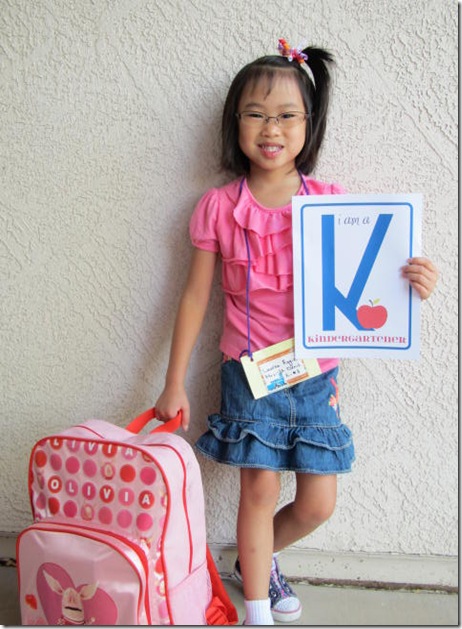
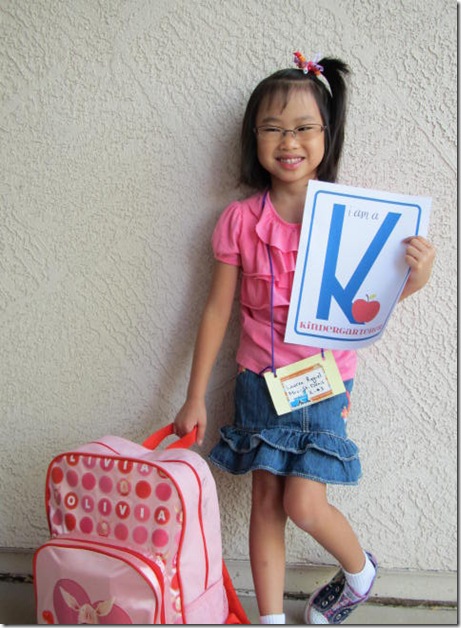
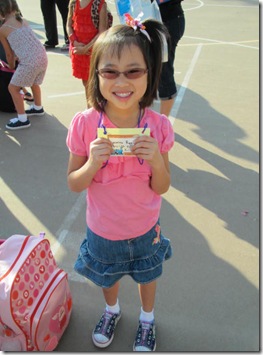
Here’s my big kindergartener girl!

IMG_4262IMG_4263IMG_4267IMG_4270

The classes meet in the playground and the teacher leads the line of kids into the building.  It was organized chaos with cameras snapping everywhere!

IMG_4272IMG_4273

She was all smiles until the other lines started going in…then she was a bit apprehensive. 

IMG_4271IMG_4275

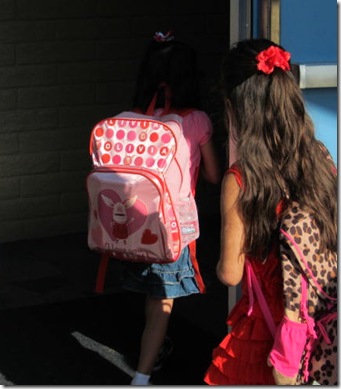
But when her line started to move, she went right in with no tearful good-bye.  With a final snap of the camera she was gone.  Off she went to the very first day of school.  As soon as she was out of sight, my heart sank for a second and the tears started.  My baby was off on her own to a whole new adventure and I wasn’t going along…sniff, sniff.  It’s so hard to let go.  I can’t wait to pick her up and hear all about her first big day. 

IMG_4276