Monday, April 30, 2012

Crafty Weekend

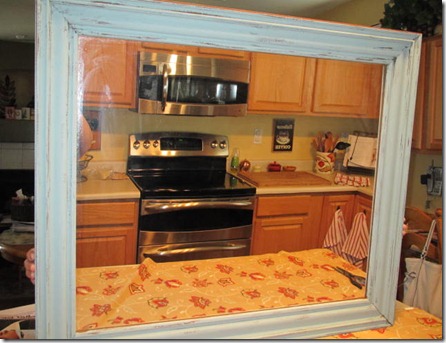
So, one of my friends wanted a big chalkboard that’s also magnetic for her kitchen.  We headed to a local antique mall and she found a big old frame already painted in a super light robin’s egg blue and ruffed up a bit…perfect!
IMG_3968
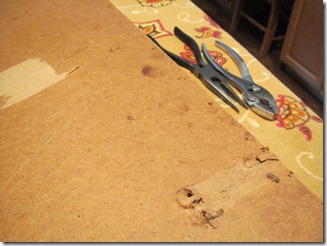
It had a mirror in it, but that’s okay.  We took off the old frame backing and removed the mirror.  There were a million little staples very tightly holding the mirror in, so it took quite a bit of elbow grease. 
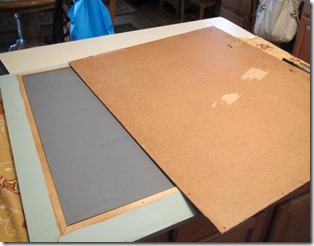
IMG_3966IMG_3967
After that we picked up a piece of sheet metal at Home Depot and cut it with tin snips to fit the frame insert.  Something to note…aluminum sheeting is NOT sheet metal and it’s NOT magnetic…just sayin.  Not that we bought aluminum sheeting and cut it just to find out that our magnets didn’t stick.  Nope, not us, we didn’t do that!
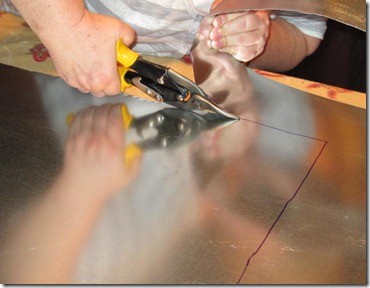
IMG_3975
Of course the sheet metal didn’t fit exactly as expected, so it took some trimming to get it just right.  Does this always happen to everyone or just me? 
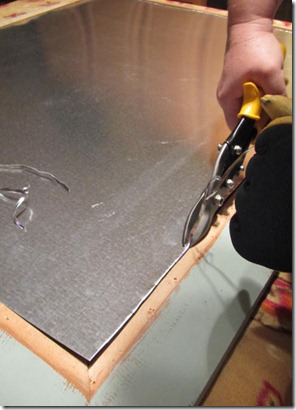
IMG_3977
The next step was to paint the sheet metal with about a gazillion coats of chalkboard paint.  Actually it was about 5 or 6 coats, but it felt like a gazillion!  Even with all those coats it’s not a perfectly even black surface, but it’s pretty close. 
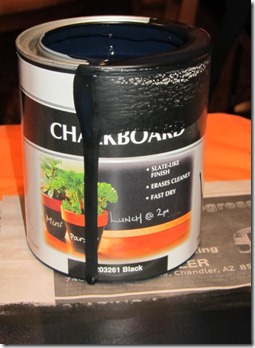
IMG_3981IMG_3980
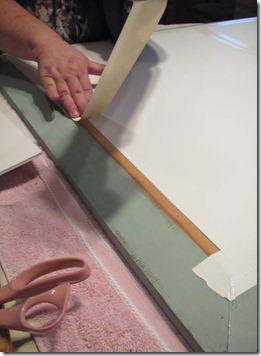
Now, instead of of putting the big, heavy original frame backing back on, we decided to pick up some foam core and good old Duck Tape.  We put the chalkboard into the frame, backed it with foam core we cut to size and taped it all around with the Duck Tape. 
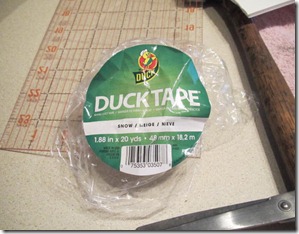
IMG_3998IMG_3996 
Here’s the finished board.  It works great and it’s magnetic.  Not that pathetic, almost not existent magnetic strength you get with magnetic paint, but a super strong magnetic hold. 
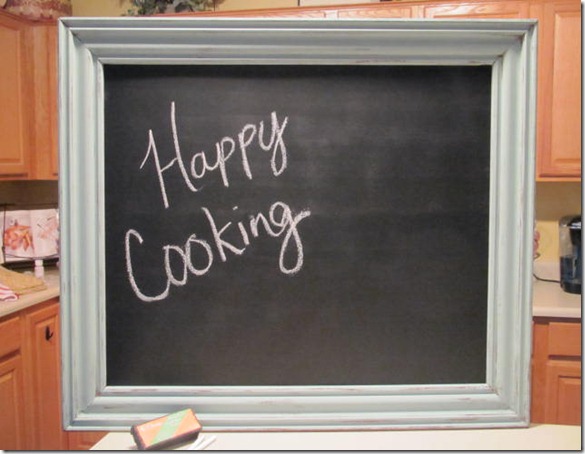
IMG_4005
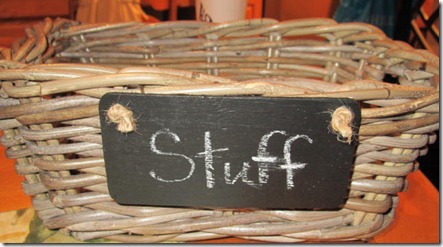
While we had the chalkboard paint out, we made these basket labels using a package of little wooden signs we got at Michaels. 
IMG_3993
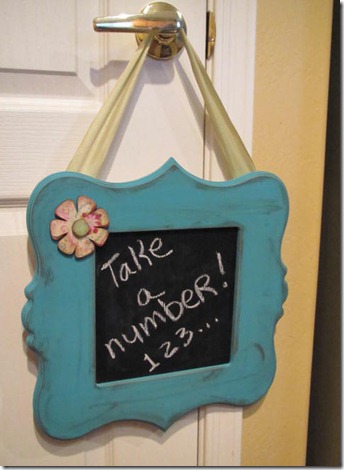
I also made this magnetic chalkboard for my office door at work.  The frame is from Cut it Out and the wooden flower cut-out came from Pick Your Plum.  I just painted the frame and mod podged some scrapbook paper onto the flower.  I sanded both and used some antiquing gel.  I love how it turned out. 
IMG_4010
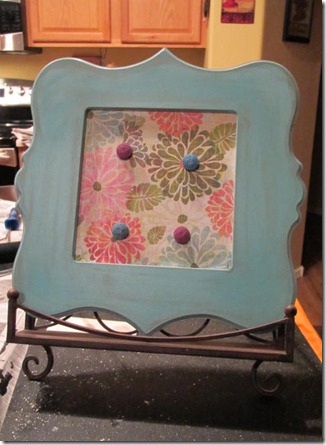
Here’s another project using a Cut it Out frame, but this one is scrapbook paper over a sheet metal insert to make it magnetic for hanging notes or photos. 
IMG_3987


Now, what’s the next project going to be?? 

Linking up at Somewhat Simple...
Somewhat Simple

Saturday, April 21, 2012

Yo Gabba Gabba party details

Even though I already posted a video, I also wanted to put up some pics from Lauren’s Yo Gabba Gabba party.  I figured anyone planning this theme soon could get some decorating ideas.  Also, I would be happy to share any of the JPEG’s I created from clip art I found on the web. 

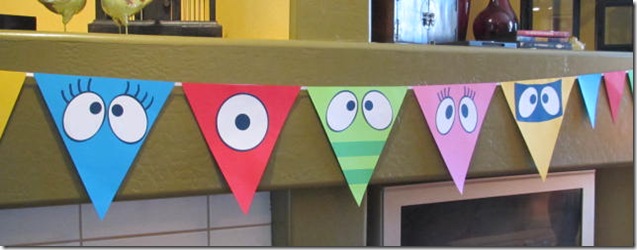
For this banner I cut everything with my Cricut, but you can also do this by hand.  I just used a Sharpie marker for the eyelashes. 

Birthday Banner

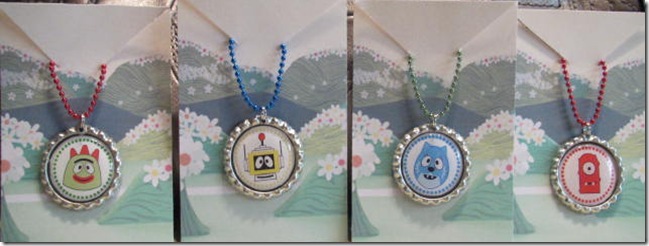
I made these bottlecap necklaces for the favor bags with supplies from Fizzy Pops.  I cropped the characters from some clip art and created a dotted circle to go around them.  I printed the images on photo paper so they would be nice and sharp.  If you would like the images in PDF form, just email me from the link on my sidebar and I would be happy to share.  Smile  

Bottlecap Necklaces

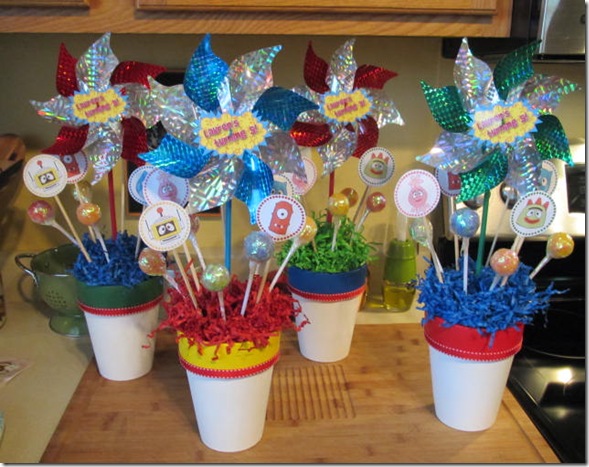
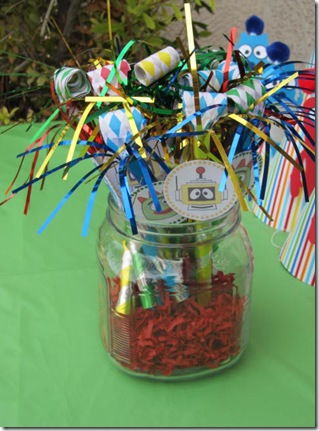
For the centerpieces, I used the same images as the necklaces, just a little bigger, and put them on sticks.  A friend of mine (thank you Nancy) painted plain terra cotta pots for me and I added the ribbon detail.  I put some styrofoam on the bottom, popped in some pinwheels, the characters and some lollipops and topped with paper shred. 

IMG_3798

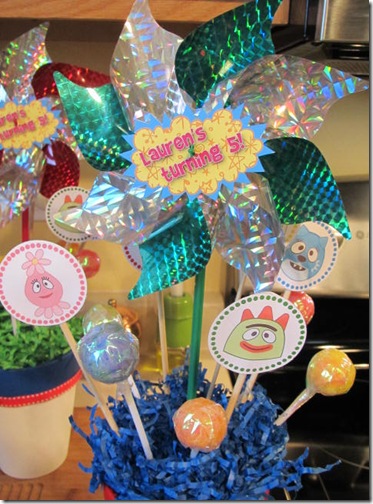
I took the pinwheel centers out replaced them with this image from the Yo Gabba logo.  Towards the end of the party, I told all the kids to grab a lollipop. 

IMG_3801

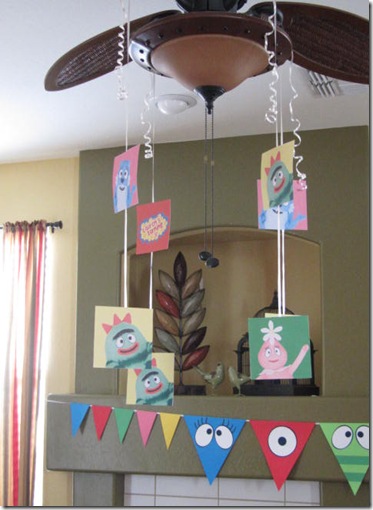
Instead of buying expensive Yo Gabba décor from Birthday Express, I just cropped some character pictures and glued them double-sided to some curling ribbon.  I hung these above the buffet too. 

IMG_3809

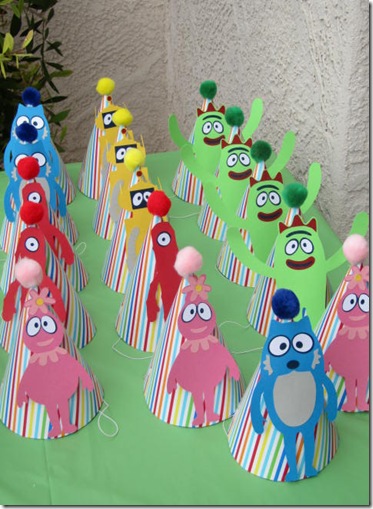
For the hats, I totally lucked out and found SVG images of all the characters.  This type of image can be cut on the Cricut if you have one of the bootleg software programs purchased BEFORE ProvoCraft won their lawsuit to stop these programs from working with Cricut.  I have the Make the Cut software (purchased before the lawsuit win) and I couldn’t imagine having my Cricut with it!  If you are lucky enough to have one of these programs still working and would like the SVG’s, let me know and I’d be happy to pass them along.   

IMG_3819

I used my necklace images once again on the party blow-outs…

IMG_3820

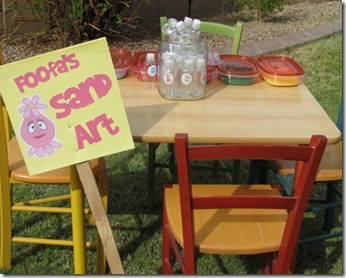
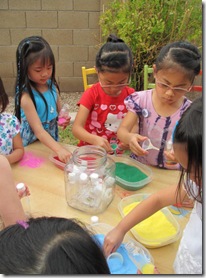
The sand art station was a hit with the kids, although I only recommend this as an outdoor activity since it’s messy.  I bought colored sand in Yo Gabba colors and little bottles at Hobby Lobby

IMG_3812IMG_3831

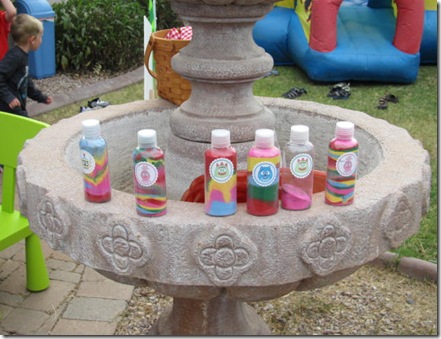
To the bottles, I printed some images on sticker paper and popped them on…

IMG_3835

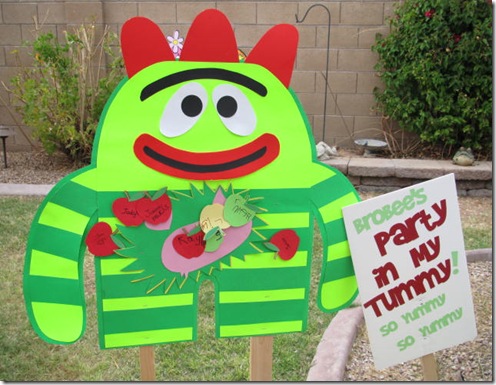
I made this game with tons of help from my friend, Nancy, who drew the character out on poster board.  I printed red, green and yellow apples on my Cricut and the kids wrote their names on them before we blindfolded them to play. 

IMG_3840

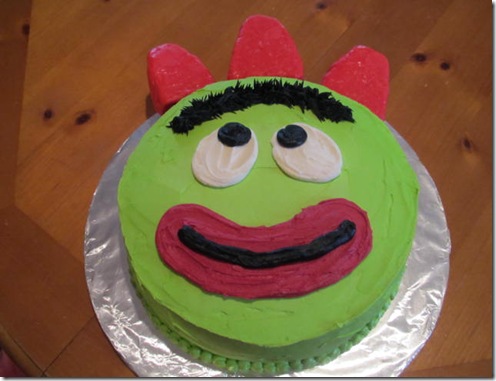
The Brobee cake is a 2-layer 12-inch round covered with tinted buttercream frosting and I covered rice krispie treats in fondant for the horns.  This cake was super simple, but very time consuming…it took much longer than I thought it would from start to finish. 

IMG_3843

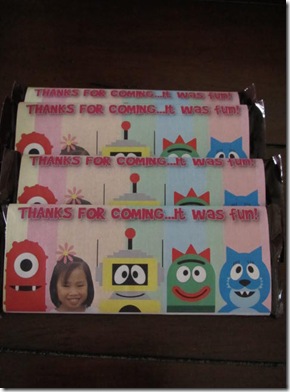
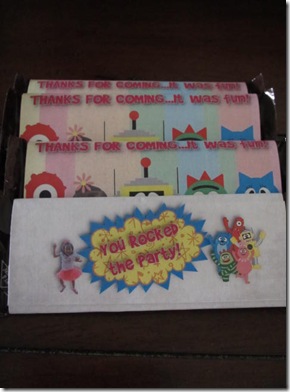
For the candy bar wrappers, I doctored up some clipart and substituted Lauren’s pic for one of the characters. 

IMG_3878IMG_3879

These little cards were on the buffet…

IMG_3893

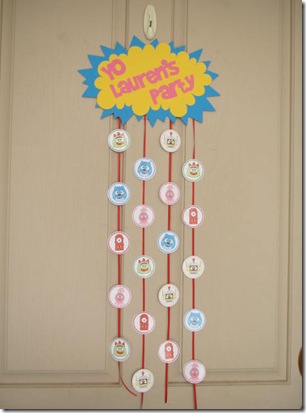
and this was on the front door.  I wanted to make one of these really cute wreaths made with balloons that aren’t blown up, but I ran out of time and energy! 

IMG_3877

When all was said and done, Lauren had a great day and she LOVED everything.  That was  enough to make me feel like like all the crafty work was well worth it!  

Monday, April 9, 2012

Easter

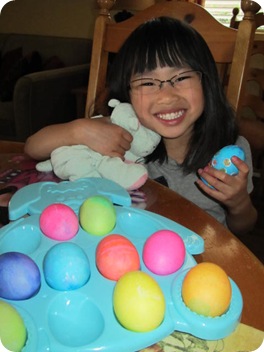
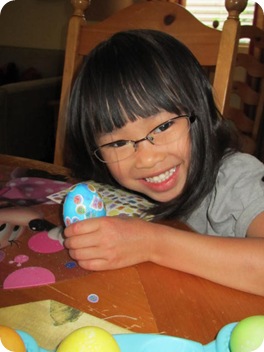
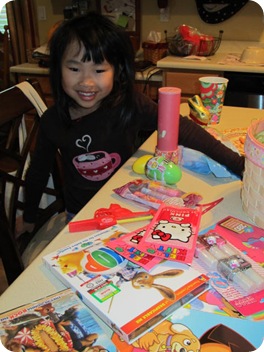
We had a very nice, low key Easter this year. We colored eggs while Joe was off work on Friday night. Lauren was very proud of her blue egg covered in stickers…

IMG_3909 IMG_3914

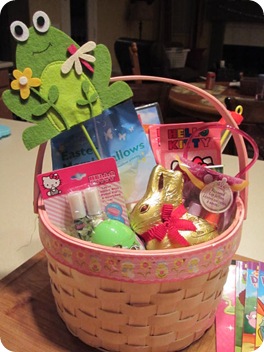
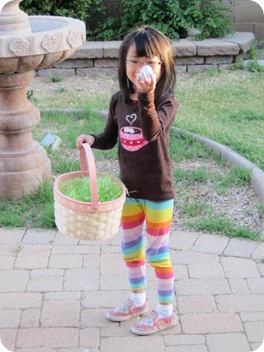
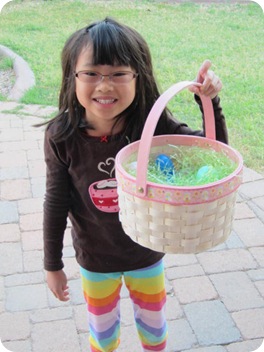
He worked on Easter Sunday and had to go in early, but was home to see Lauren go through her basket goodies and hunt for eggs in the backyard.

IMG_3934 IMG_3938

IMG_3940 IMG_3950

IMG_3961

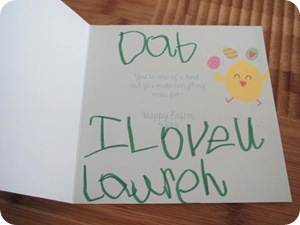
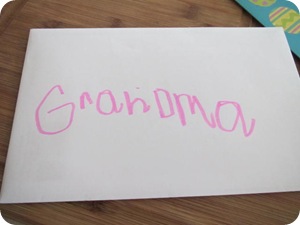
How cute is this…I love cards with her writing on them!

IMG_3951 IMG_3952

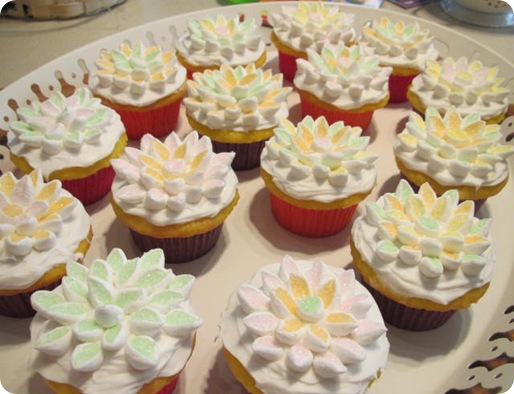
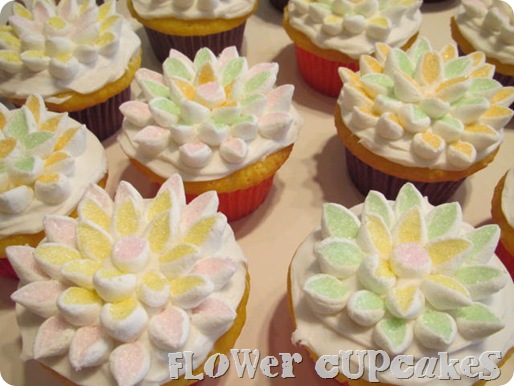
I took these cupcakes for Easter dinner at my brother and sister-in-law’s house. We had a wonderful spiral ham dinner. It was super casual and very laid back…just how I like it. Lauren had a great time with her cousins. She follows her cousin, Josh, around like a shadow and he is SO good with her.

IMG_3953

For these cupcakes, just cut mini-marshmallows on the diagonal and throw them into a bag of sugar sprinkles. The sprinkles stick to the cut parts and look like little petals. I can totally see these in red for Christmas. I saw this idea on M3’s blog…she made these with the girls.

IMG_3960